How to Use Pearl Pigments in Epoxy Resin: Mixing Ratios, Application Techniques and Expert Tips
Epoxy resin is widely used to create decorative furniture, river tables, jewelry, accessories, countertops and artistic castings. One of the most effective ways to enhance these projects is by adding pearl pigments, which create a distinctive shimmer and a sense of depth that ordinary colorants cannot easily reproduce.
Unlike conventional pigments that primarily provide solid color, pearl effect pigments interact with light to produce pearlescent, metallic and reflective finishes. However, achieving a consistent result depends on selecting the right pigment, determining a suitable concentration and understanding how the resin behaves during curing.
In this guide, we explain how to select pearl pigments for epoxy resin, estimate starting mixing ratios, prepare the mixture correctly and avoid common application problems.
1. What Are Pearl Pigments and How Do They Work in Epoxy Resin?
Pearl pigments are special effect colorants commonly produced from mica-based particles coated with materials such as titanium dioxide or iron oxides. These coatings influence how light reflects and interacts with the particles, creating a pearlescent appearance, metallic sheen or subtle color-shifting effect.
When dispersed throughout transparent or translucent epoxy resin, pearl pigments can create anything from a soft satin glow to a more pronounced metallic finish. The final appearance depends on several factors, including pigment color, particle size, concentration, resin clarity and application technique.
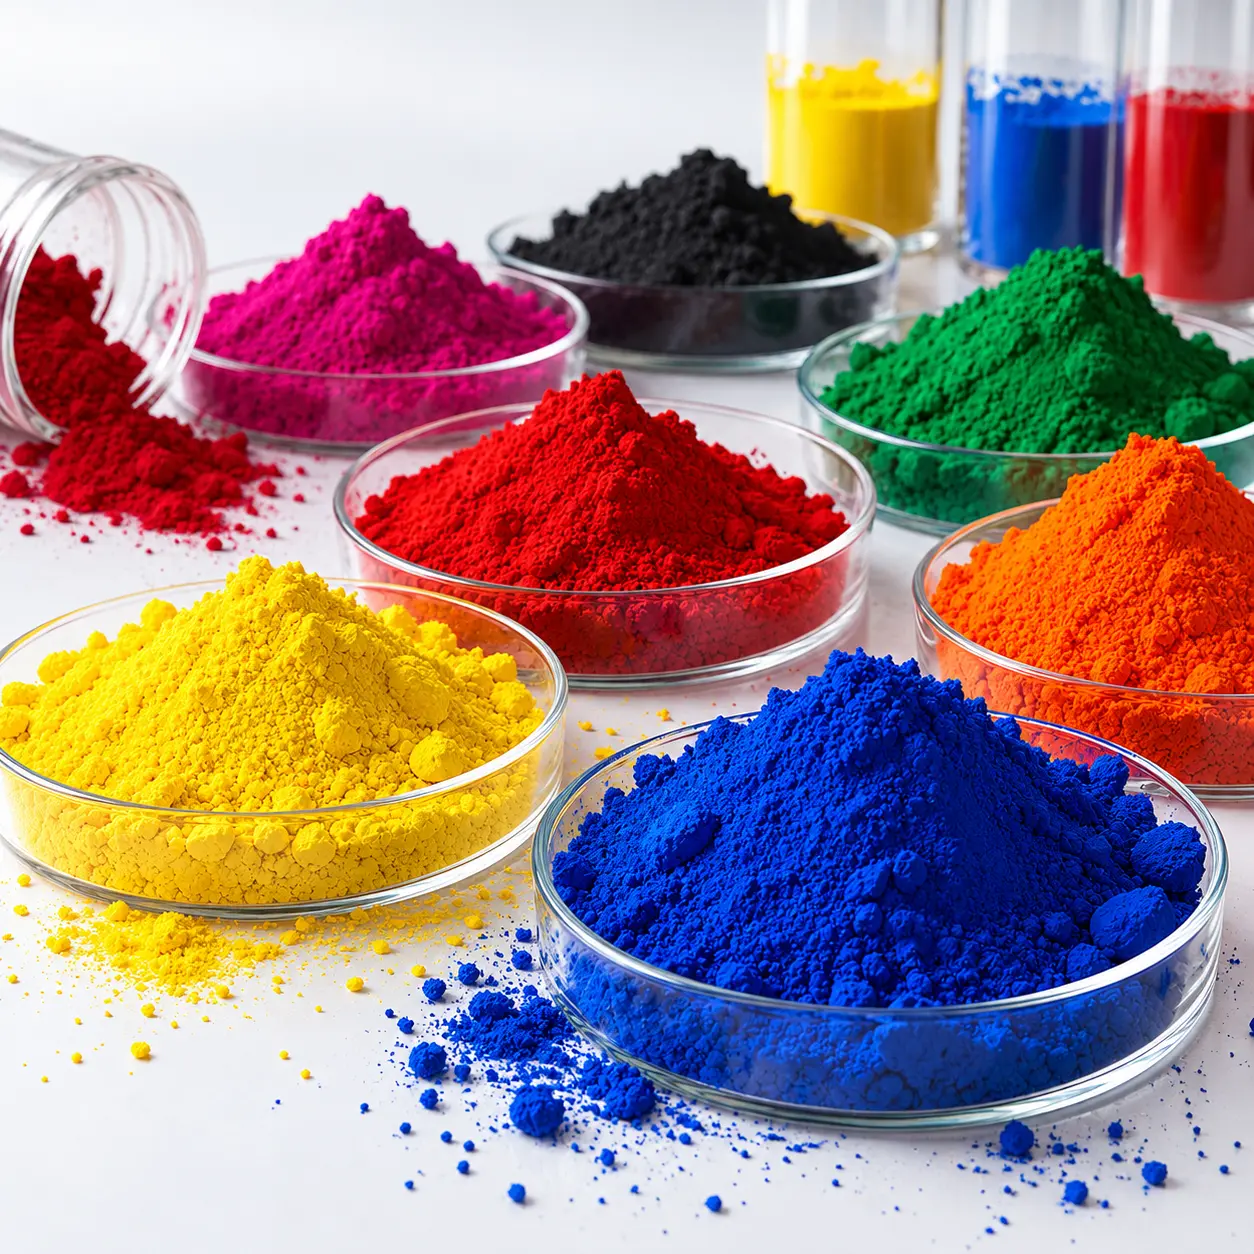
For different colors and visual effects, explore our range of pearl and effect pigments.
2. Choosing the Right Pearl Pigment for Your Epoxy Project
Different epoxy applications require different visual effects and material characteristics. Before selecting a pearl pigment, consider the resin's viscosity, casting depth, surface area and the finish you want to achieve.
- River tables and wood-resin furniture: Pigment distribution and settling behavior are important, particularly when working with deep-pour epoxy systems. Select a pigment suitable for the resin and casting conditions.
- Countertops and decorative surfaces: For metallic or marble-like finishes, consider how the pigment spreads across the surface and how its reflective particles appear after curing.
- Jewelry and small decorative objects: Fine-particle pearl pigments can provide a smooth, delicate shimmer, while larger particles may create a more pronounced sparkle.
- Artistic resin castings: Different pearl colors can be combined to create layered effects, flowing patterns and contrasting highlights.
Particle size alone does not determine the final result. Pigment structure, concentration, resin thickness and lighting conditions also influence the appearance. Testing a small sample before starting a larger project is recommended.
3. Pearl Pigment Mixing Ratios for Epoxy Resin
The appropriate pigment concentration depends on the specific product, the desired finish and the epoxy system. There is no single mixing ratio that works for every pearl pigment.
The following percentages can serve as illustrative starting points for small-scale trials, provided they are compatible with the pigment and resin manufacturer's recommendations. All percentages refer to the total weight of the mixed epoxy, including resin and hardener.
| Desired Finish | Illustrative Starting Ratio | Expected Appearance |
|---|---|---|
| Subtle pearlescence | 0.5% | A soft shimmer with a relatively delicate effect |
| Noticeable pearl effect | 1% | More visible shimmer and color presence |
| Stronger visual effect | 1.5% | A more pronounced pearlescent appearance, depending on the pigment |
Example: For 100 g of fully mixed epoxy, a 0.5% pigment concentration equals 0.5 g of pigment. A 1% concentration equals 1 g.
These figures are starting points for testing, not universal technical specifications. Adding more pigment does not automatically produce a better finish. Excessive loading may affect flow, surface quality or curing performance, depending on the formulation. Always follow the product documentation and test the mixture before use in a finished piece.
4. Step-by-Step Guide to Adding Pearl Pigment to Epoxy
- Prepare the materials: Measure the resin and hardener according to the epoxy manufacturer's specified mixing ratio. Do not change the resin-to-hardener ratio to compensate for pigment addition.
- Add the pigment gradually: If permitted by the product instructions, incorporate the pearl pigment into the resin component before adding the hardener. Add it slowly to minimize clumping and uneven distribution.
- Mix gently and thoroughly: Use a suitable spatula or low-speed mixer. Scrape the sides and bottom of the container to help distribute the pigment evenly, while avoiding unnecessary air entrapment.
- Add the hardener: Once the pigment is dispersed, add the hardener and mix for the time specified by the epoxy manufacturer. Ensure that the mixture is uniform throughout.
- Inspect the mixture: Check the color, consistency and pigment distribution before pouring. A small test casting can reveal potential issues before you commit to a larger project.
- Pour and manage bubbles carefully: Follow the resin manufacturer's recommended pouring and bubble-removal procedures. Heat guns and torches can overheat the resin, damage the surface or create a fire hazard if used incorrectly.
5. Common Problems and How to Avoid Them
- The pearl effect looks too weak: The pigment type, concentration, surface finish and lighting can all affect the result. Test a different pigment grade or adjust the concentration gradually rather than adding a large amount at once.
- Pigment settles at the bottom: Settling can occur in low-viscosity resin, especially during long curing periods or deep pours. Consider the pigment's particle characteristics and the resin's viscosity, and test the combination before use.
- The mixture contains clumps: Add the powder gradually and mix thoroughly. Check whether the pigment is compatible with the selected resin system.
- The epoxy does not cure properly: Maintain the specified resin-to-hardener ratio and avoid excessive pigment loading. Incompatible additives or excessive amounts of colorant may affect curing or final material properties.
- The finished effect looks different from the sample: Casting depth, pigment distribution, lighting and the background color can change the visual result. Test under conditions similar to the final application.
Combining different pearl pigments can create attractive marble effects, flowing color transitions and layered visual patterns. For more predictable results, test color combinations in small batches before applying them to a finished piece.
6. Safety and Storage Recommendations
When handling powdered pigments, minimize dust generation and follow the personal protective equipment recommendations in the product's safety data sheet. Fine particles should not be inhaled. When working with epoxy resin and hardener, use suitable gloves, protective eyewear and adequate ventilation. Follow the resin manufacturer's guidance on respiratory protection and safe handling.
Store pearl pigments in their original, tightly closed containers under the conditions specified by the supplier. Protect them from moisture and contamination. Resin and hardener should also be stored according to their own technical documentation.
Frequently Asked Questions About Pearl Pigments in Epoxy Resin
1. Can pearl pigment prevent epoxy resin from curing?
A compatible pearl pigment used at an appropriate concentration will generally work with the intended resin system. However, excessive pigment loading or incompatible additives may affect curing and final performance. Check the technical recommendations and carry out a test before a full application.
2. Does pearl pigment settle in epoxy resin?
It can. Settling depends on the resin's viscosity, the pigment's particle characteristics, casting thickness and curing time. This is particularly important in deep-pour applications, where testing the complete system is advisable.
3. Can any pearl pigment be used in epoxy resin?
Not necessarily. Pigments vary in composition, surface treatment and compatibility. Choose a product suitable for the intended epoxy application and confirm its suitability with the supplier's technical documentation.
4. How much pearl pigment should I add to epoxy?
The correct amount depends on the pigment and the appearance you want. Start with a small test batch, use the supplier's recommended dosage and adjust gradually while observing the mixture's appearance and behavior.
5. Can I mix different pearl pigment colors together?
Yes, different colors can be combined to create custom effects. However, the resulting appearance depends on the pigments' individual properties and proportions. Test the blend in a small sample before using it in a larger project.
Conclusion: Achieving Better Results with Pearl Pigments
Successful pearl effects in epoxy resin depend on selecting a suitable pigment, controlling the concentration and following the resin manufacturer's application instructions. Particle characteristics, resin viscosity and casting conditions all contribute to the final appearance.
Explore the available pearl and effect pigments from Tüver Pigment to discover different colors and finishes for your projects.
If you need assistance with product selection, technical specifications or supply options, visit our English website or contact our team through the contact page.